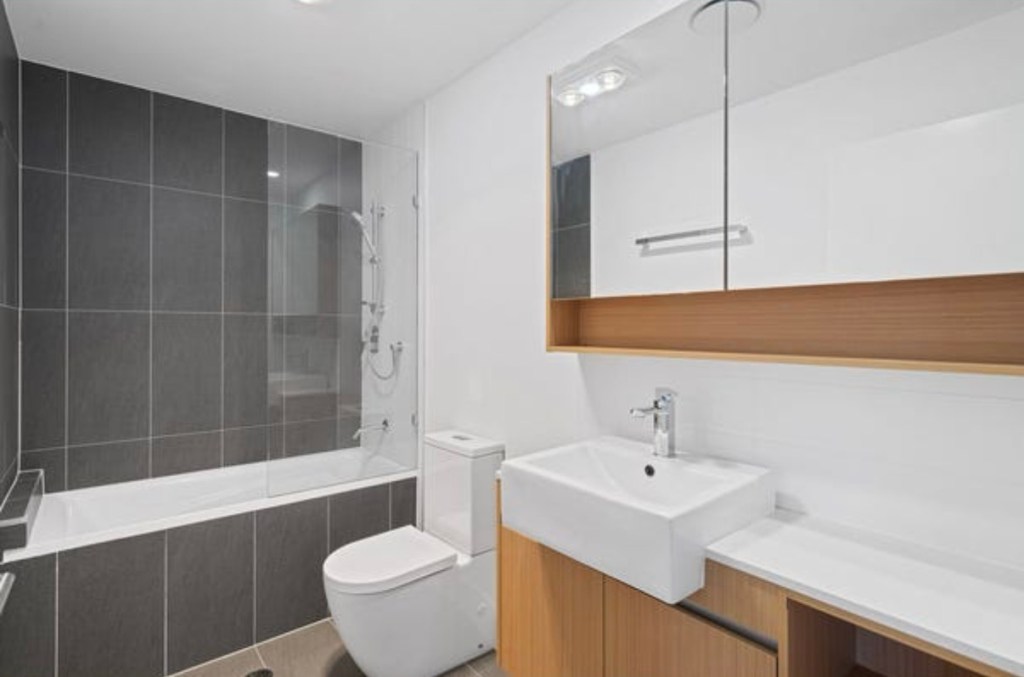
Bathrooms in new-build properties are clean, well designed from a functionality perspective, and all the pipes work.
However, they lack character. Art and decor just weren’t going to cut it.

Painting Laminate Cabinets
Painting the cabinets a richer brown was my first house job (ever). I started these on a whim when Mum was in Canberra and unavailable to talk sense into me.
Supplies:
- White Knight Tile & Laminate Primer
- White Knight Tile & Laminate Paint (I used satin finish, mixed with ‘Oswego Tea’ colour from Taubmans)
- Paint brush (I used Monarch) and small rollers (foam or fibre is fine)
- Plastic drop sheets, tape & face mask for protection
- Sugar Soap & Sandpaper for preparation
- Turpentine for cleaning like your life depends on it
Steps: preparation, primer, 2-3 coats of laminate paint, clean.


Note: laminate paint is oil-based and very strong. You will not be able to clean and re-use your brushes, and wearing a mask to protect against fumes is essential.
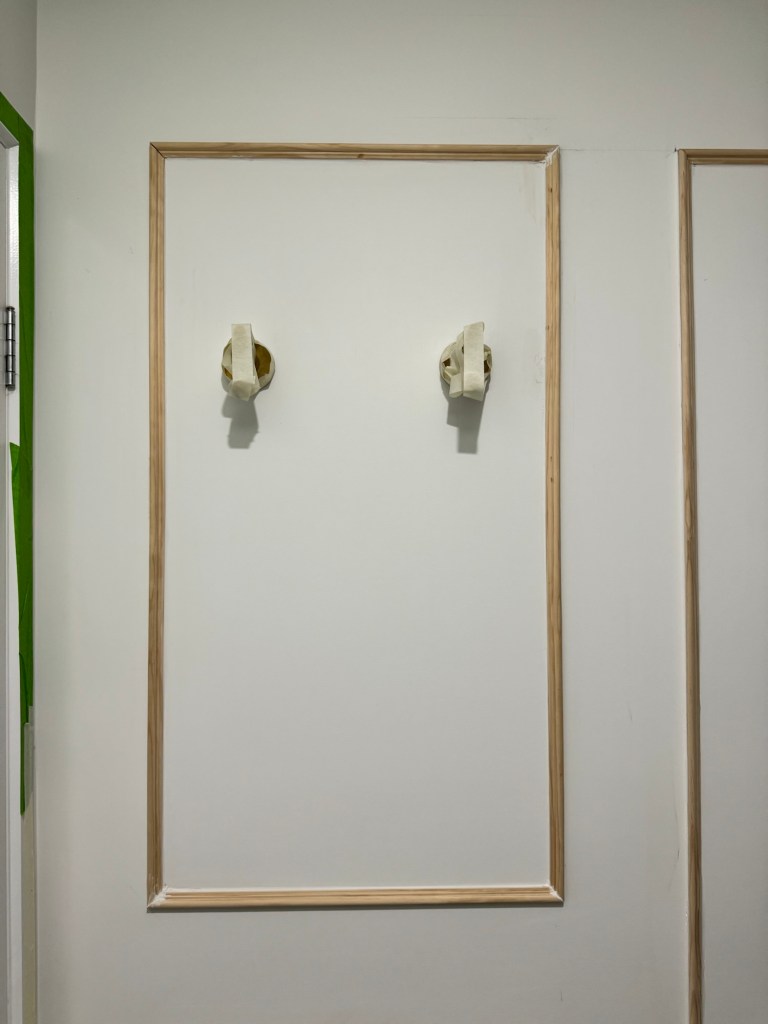
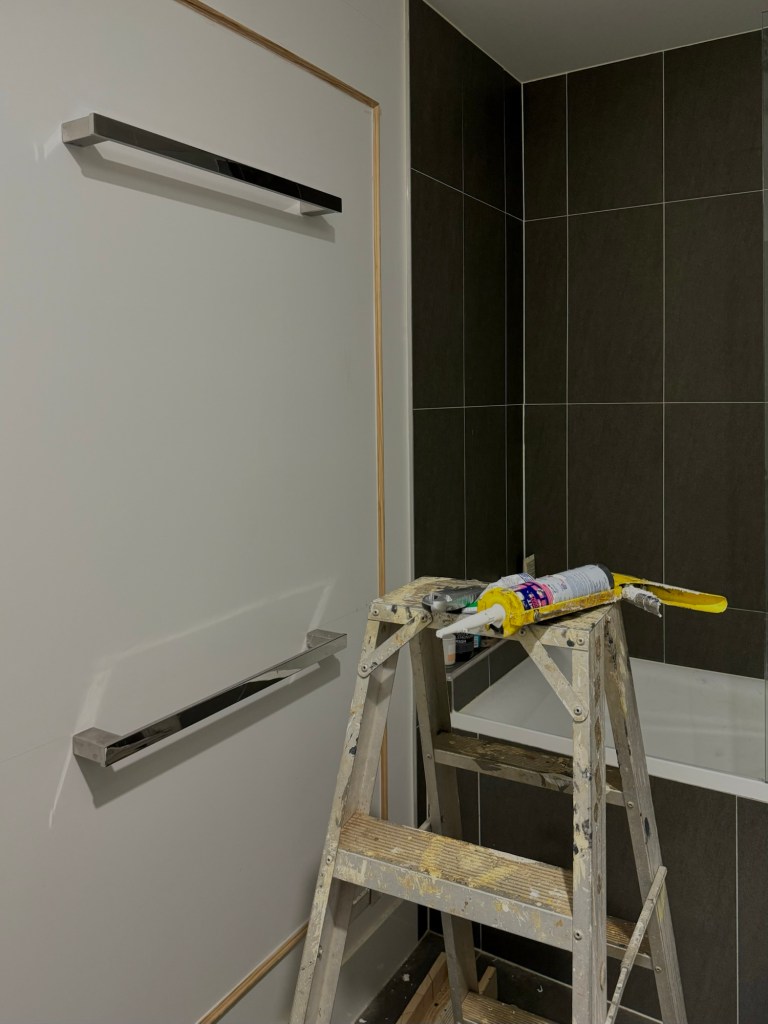
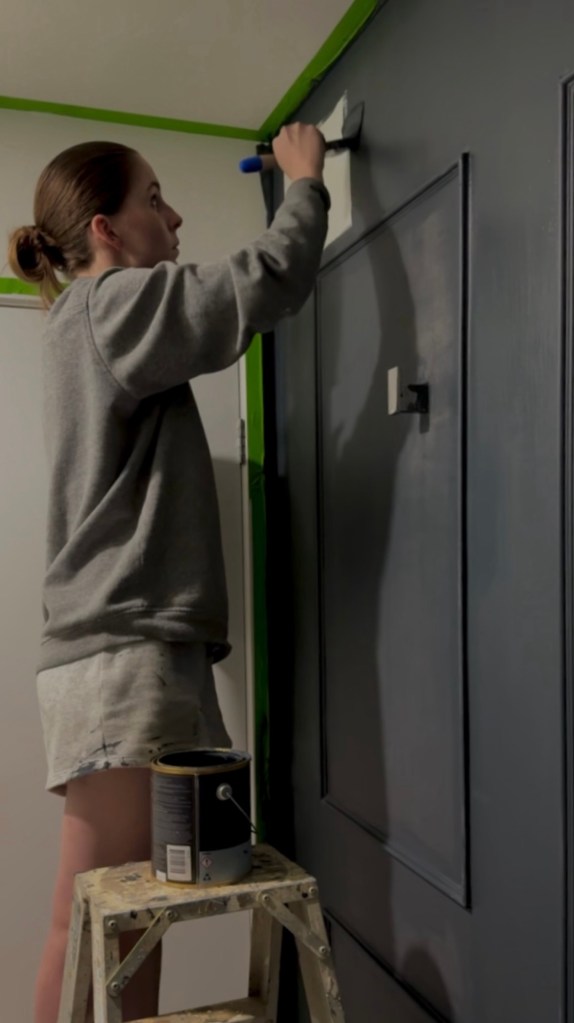
Panelling & Painting the Walls
We’ve always loved the idea of a dark, moody bathroom.
‘Squid Ink’ by Porters Paints is what we used in our bedroom wing and plan to use for the stairwell void, so for consistency we decided on this colour for our bathrooms.
We’ve also always loved how panelling and moulding adds elegance to otherwise blank walls. We couldn’t wait to do this in our own home.


Panelling steps:
- Use masking tape to create your initial design and measurements
- Cut your panels (we used Porta panels from Bunnings) using a handsaw & mitre box
- Using a level is recommended, but we used pencil marks, a tape measure and mitre box to draw our lines
- Selley’s “Liquid Nails” glue allows you to stick panels to the wall without the need for power tools. Make sure you have somebody to help you hold these in place while the glue sets. Also have a wet cloth handy to remove excess glue before it dries
- Apply gap-filler using a putty gun and immediately run a wet finger along these lines and wipe excess caulk with the cloth
Painting steps:
- Take care with your frog tape – this will make the cleaning and touch-up process much easier or much harder
- Sand and sugar soap the entire walls to prepare
- You don’t need to prime the wall, but painting the panels with primer is helpful to create another sealant
- I used both a paintbrush and fibre rollers for these walls
- 2-3 coats of Porters Paint depending on how it’s coming up
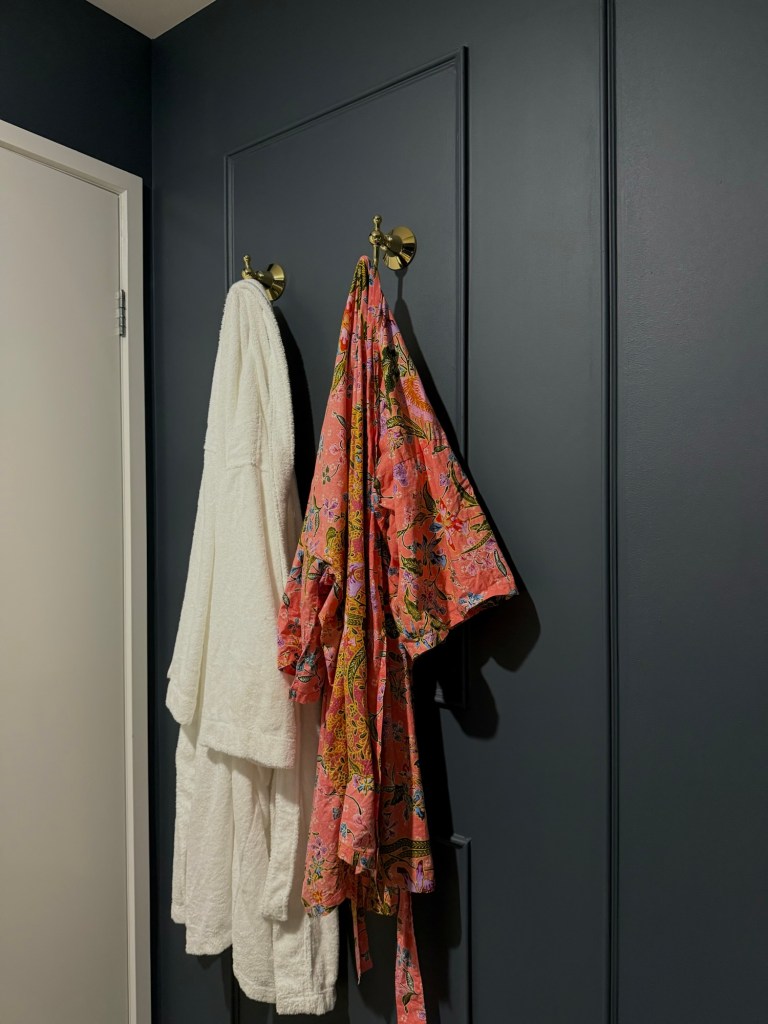
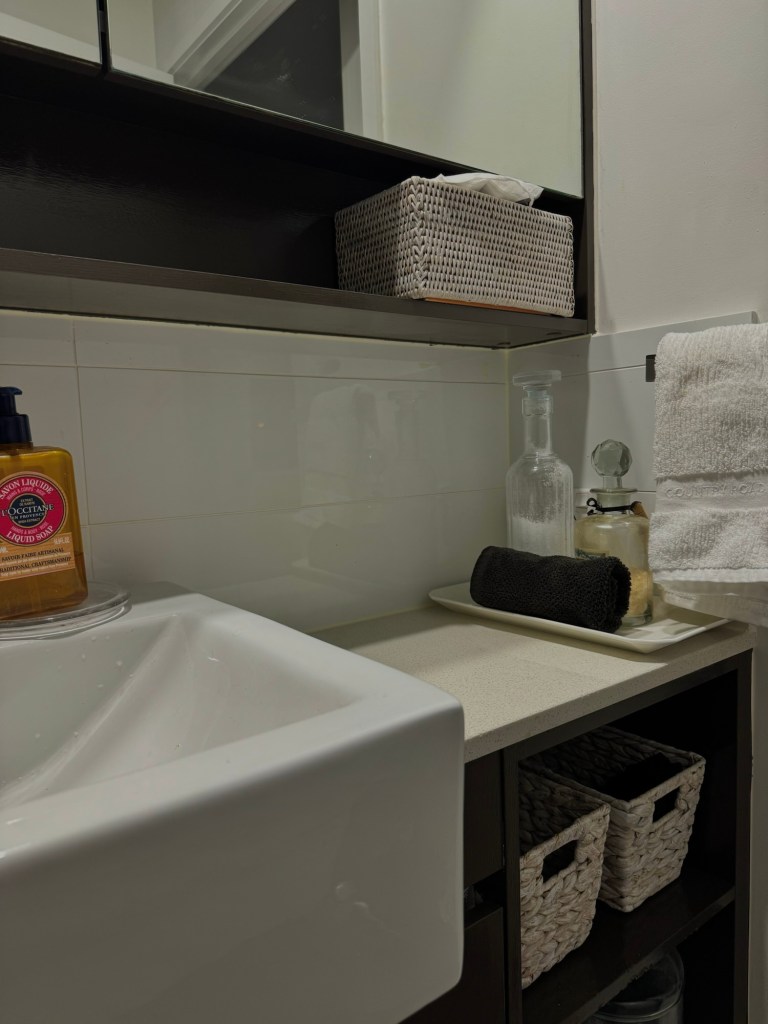
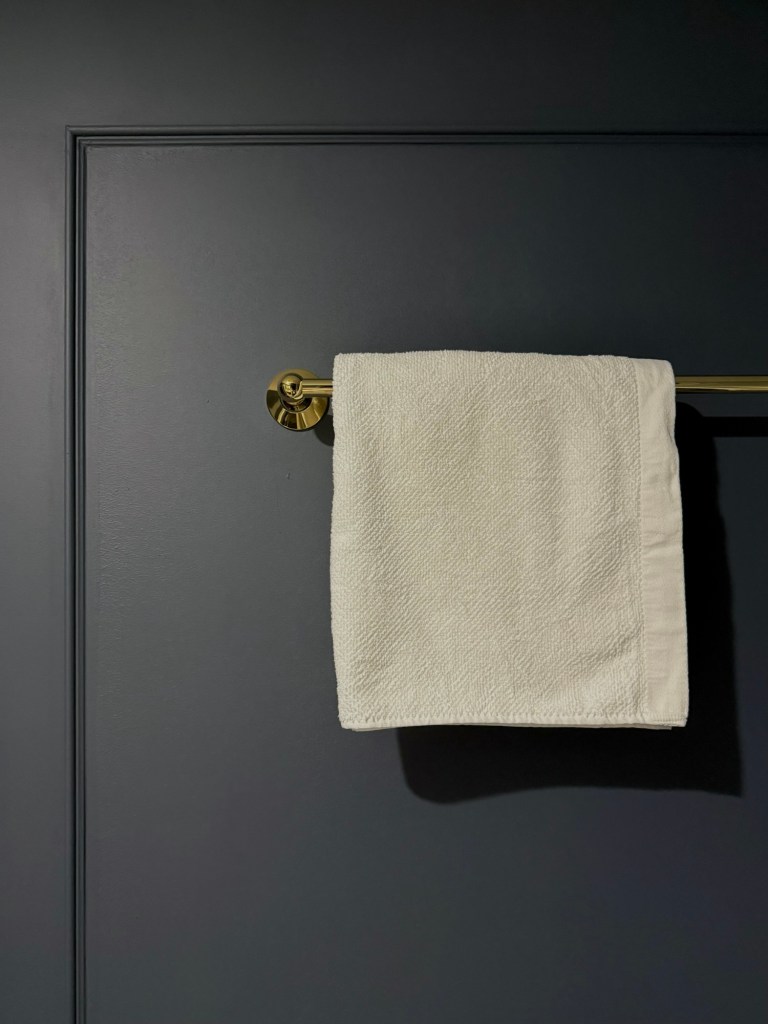
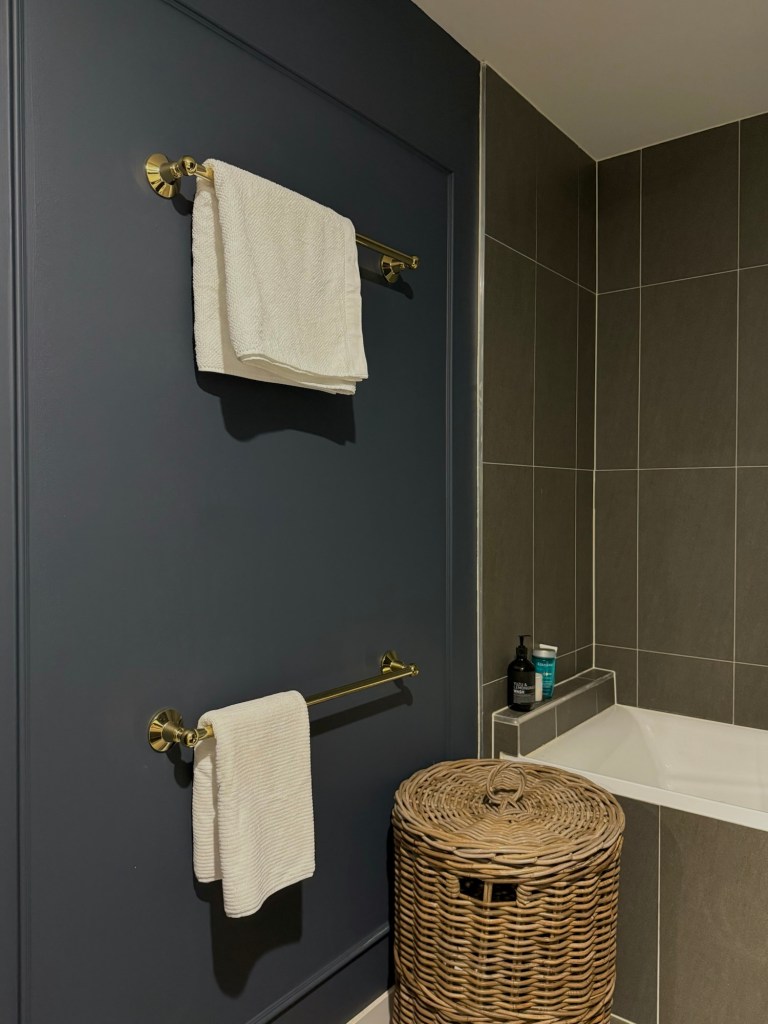
Hardware
Splurging on bathroom hardware is worth it in our opinion. This adds elegance and luxury. We bought brass towel rails, toilet roll holders and hooks from Early Settler.
Next Steps…
- Re-tile the bathrooms
- Find a smaller brass basin tap
- Investigate shower curtains

We’ll keep you updated as we progress!
~Isabel

Leave a comment